Manufacturer > Philips > Devices > Pioneer Plus IVUS-guided re-entry catheter
Pioneer Plus IVUS-guided re-entry catheter
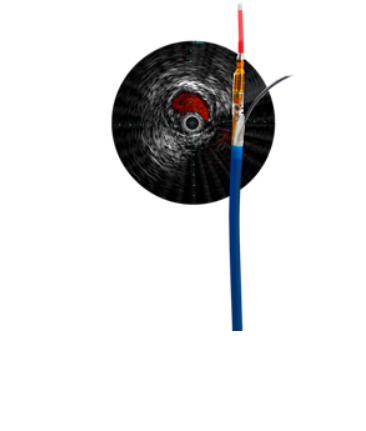
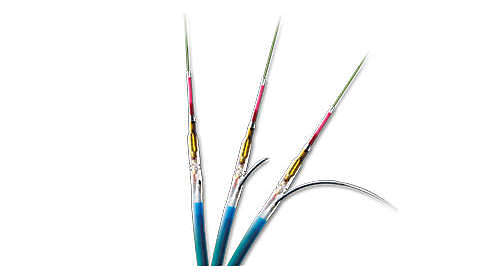
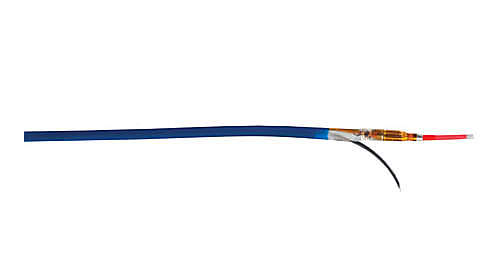
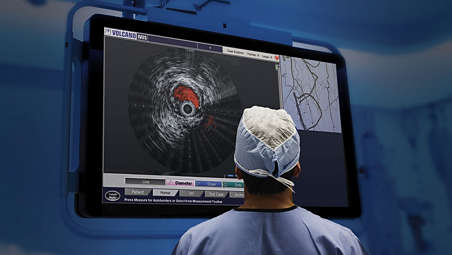
The Pioneer Plus IVUS-guided re-entry catheter is designed to identify true lumen with speed for the most challenging CTOs. With the unique offering of IVUS and a dual-wire system in one device, the Pioneer Plus catheter provides clinicians with IVUS-guided clarity to true lumen re-entry for their patients.
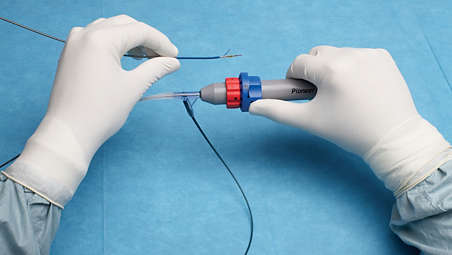
Prepping the Pioneer Plus catheter
1 Remove the Pioneer Plus catheter from the box.
2 Place plastic tray on sterile prep table. Carefully remove the Pioneer Plus catheter and all contents from the plastic tray.
3 Inspect catheter for any manufacturing defects or damage that may have resulted from shipping.
4 Attach the white “winged” rapid exchange flush adapter to a 10-cc syringe.
5 Place the sterile plastic bag over the IVUS connector.
6 Attach a Tuohy-Borst adapter or rotating hemostasis valve to the proximal luer on the handle.
7 Set the needle stop to “7” and deploy the needle to confirm needle movement. Verify needle movement in and out of catheter shaft.
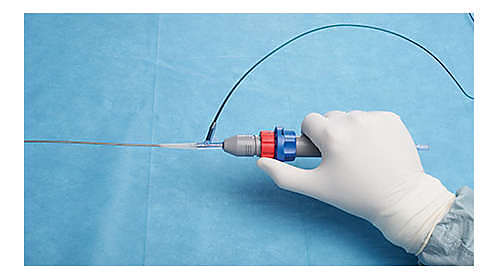
8 Flush both lumens with heparinized saline as illustrated below:
a. The rapid exchange lumen requires the use of the white “winged” adapter. Gently insert tip of catheter into adapter until a snug fit is achieved and flush. Repeat before use, if necessary.
b. Needle lumen is flushed through the proximal handle luer with a 10-cc syringe. Use a stopcock or luer cap after flushing
9 Insert PIM into the sterile bag. Connect Pioneer Plus catheter to the PIM and verify system recognizes catheter.The Pioneer Plus catheter works with the Philips Volcano s5 Series or CORE series of Philips Volcano systems. If an IVUS image is not obtained or is unsatisfactory, consult the Philips Volcano s5 Series or CORE Series of Systems Operator’s Manual supplied by Philips Volcano.
10 Insert 300 cm guidewire* into needle lumen; place a 90º angle on wire tip. Retract needle first, then retract wire and reflush needle lumen. Carefully tighten the rotating hemostasis valve around the needle guidewire and close off the side port with a closed end cap of stopcock.
Features and Benefits
The only IVUS-guided re-entry device
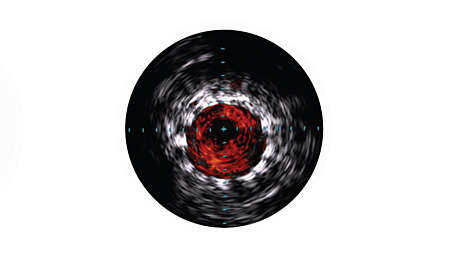
The Pioneer Plus catheter is the only re-entry device with IVUS and ChromaFlo.
Identify the true lumen with speed and precision
Individual experiences with Pioneer Plus have demonstrated procedure time for effective re-entry ranging from 6-10 minutes.
Visualize success with confidence
The Pioneer Plus catheter has demonstrated a 95% to 100% procedural success rate in subintimal angioplasty procedures.

Minimize procedural complications
The guidance and direction provided by on-board IVUS imaging has the potential to minimize procedural complications.

IVUS helps with disease assessment
IVUS imaging helps physicians assess disease markers including plaque burden percentage, lesion location and morphology, calcium volume, and the presence of thrombus. It also provides analysis of crucial parameters – like luminal cross-sectional measurements – and helps aid in disease diagnosis.
IVUS helps confirm treatment results
IVUS imaging helps to confirm treatment results, including the completeness of treatment, the apposition and expansion of stent placement, and whether or not the patient requires a thrombolytic drip. ChromaFlo imaging, for example, can be used to show evidence of stent apposition by illustration the absence of flow.